During an extended period at home I’ve been really getting stuck into baking. I’ve been following other recipes so will just share photos of my lockdown bakes, all gluten free and vegan.


During an extended period at home I’ve been really getting stuck into baking. I’ve been following other recipes so will just share photos of my lockdown bakes, all gluten free and vegan.
I’m not going to suggest that this is true cooking but my put together vegan and gluten-free sausage and mash is a real favourite of mine. I had this meal yesterday afternoon as it makes a perfect Sunday lunch.

This meal uses Linda McCartney sausages, you can use any that suit you but I find the red onion the best as they are also gluten free.
To accompany these sausages I’ve made homemade mash potato with baby potatoes, pure soya butter and fresh rosemary from my garden.
I’ve also steamed some sweetheart cabbage and made some gravy using the Bisto gluten free vegetable gravy powder which is also vegan.
An easy, hearty and tasty sausage and mash made friendly for vegans and coeliacs and very accessible.
This is my first attempt at fudge and I’m really pleased with the results (but will be buying a sugar thermometer for next time!)

I’ve used a recipe I found online but adapted to suit my tastes (and the ingredients in my pantry).
Start with a large saucepan with a thick base and add the ingredients. I’ve used 450g Demerara sugar, 250ml Alpro cream, 150g Alpro coconut milk, 50g Pure Olive spread and 1 tbsp of golden syrup. (For the rum and raisin flavour – pictured above – I also added 100ml Bacardi at this point.
Bring to heat on a medium high and stir whilst cooking until the sugar has all dissolved and you have a consistent syrup which will be light brown and will smell amazing! (Reminded me of a very sugarey Bailey’s)
When all the sugar has dissolved and you have a consistent syrup bring the pan to the boil. It needs to reach a really high temperature of 112° – 116° and needs to be stirred regularly to prevent the sugars in syrup from burning to the base of the pan. The syrup will foam but keep boiling and keep stirring until it reaches this temperature.
As I didn’t have a thermometer when I made this fudge I used an alternative to measuring the temperature by “soft ball” ing the fudge. To do this have a pot of cool water close by and as the mixture boils take a small spoonful out of the pan and drop into into the water. If the syrup forms a soft ball you can mould and lift then it has reached the right temperature and is ready to remove from the heat. If it is still a liquid when poured into the cold water then it will need to boil for longer to reach temperature. An important learning curve here is to make sure the syrup has long enough to cool in the water before you try to mould it! Hot fudge syrup burns – safety first!
Once you have ensured the syrup has reached that temperature remove it from the heat entirely. At this point you can add extra flavouring – I’ve used dessicated coconut in the coconut fudge and added raisins for the rum and raisin. Then stir rigourously as the mixture cools down. You will notice the mixture become thicker and less glossy as you stir it. Keep stirring until the mixture of fairly cool and no longer too hot to touch and is pretty thick and creamy then pour into a line baking tray or dish to set.
I’ve learnt from the two batches I made that it is best to leave the fudge to set fully at room temperature. The coconut I made I popped into the fridge to cool and it created a split in the top and bottom with the bottom of the fudge being more like a toffee.
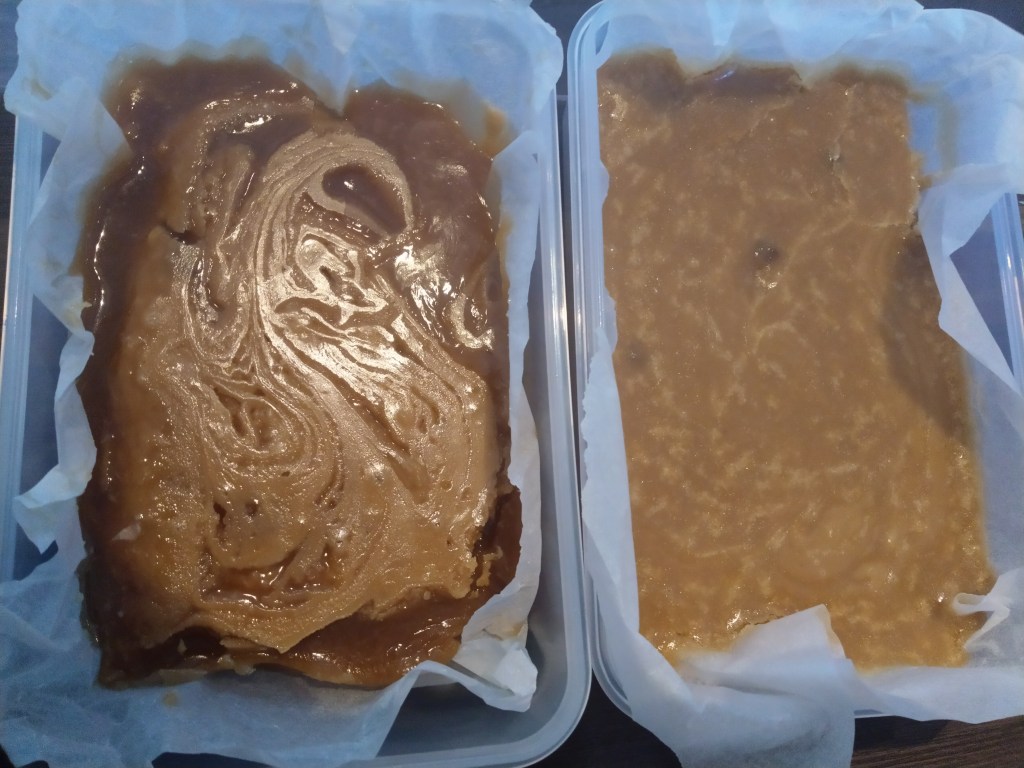
When fully set remove from the dish, peel off the baking paper and chop into bite sized pieces ready for a tasty treat!
I used to love Chow Mein noodles when I was child and pre coeliac diagnosis and vegan diet. I’d love to find somewhere I could eat them or takeaway knowing the allergens and diet were safe but for now I’ve taken some of the bits from an online recipe and attempted my own.
I’ve started with finely chopped strips of onion and added it to a wok with a tablespoon of sesame oil, chopped ginger and garlic. Stir fry until a little soft and at this point I’ve added finely chopped strips of courgette and yellow pepper (although these wouldn’t always feature in traditional chow mein – I like veggies though. Add beansprouts and continue to cook.
Cook noodles separately. I’m using vermicelli rice noodles (as hey are gluten free and lovely) so I just soak them in booked water to soften.
Add the noodles to the cooked vegetables and add soya sauce. I’m using Meridian gluten free soya sauce. Be really generous with the soya sauce as it’s the main flavour. Usually a chow mein would add oyster sauce but we will avoid the fish for obvious reasons. Continue to study fry until the beansprouts are fully soft and cooked and the noodles are a little crispy.
I’ve served these noodles with curry tofu (recipe in a previous blog post) and steamed sweetheart cabbage with soya sauce and toasted sesame seeds.
Hope you love this as much as I do!
Risotto is a staple in my coeliac and vegan diet. This flavour combination is a lovely fresh and tasty spring meal.

As with the other risotto recipes I’ve posted (and there are many) start by chopping and frying white onion in a pan with olive oil. Once the onion is soft add risotto rice and cook in the oil and onion until the rice becomes translucent.
In this recipe I’m actually not using wine so I pour over a little hot stock. Sometimes I make stock if I have left over vegetable stalks but often I use Kallo Vegetable stock cubes as they are coeliac and vegan. Allow the first stock addition to sizzle off really swiftly before turning the heat down to medium, adding extra stock and adding shelled peas. Squeeze lemon juice into the pan and add chopped fresh mint for flavour.
Continue to cook stirring frequently for approximately 20 minutes adding stock when necessary and when the liquid has bubbled off. Keep cooking and adding the stock until the rice is fluffy and juicy.
I’ve served this risotto with steamed tenderstem broccoli. It’s a perfect mix of spring flavours like mint, but without the meat you often see around Easter!
Noodles are one of my favourite ingredients and I love the number of different meals I can make with rice noodles which suit my coeliac dietary needs.

In the current lockdown situation I’m having lots of time to plan my meals and today is no exception when I made this ramen for lunch.
Start by preparing the different ingredients, chop vegetables you will use and tofu. Cook the vegetables in accordance with your taste and the vegetables you have chosen. I’m using red pepper, pak choi and mange tout. I’ve shallow fried the red pepper in a little coconut oil and I’ve steamed the pak choi and mange tout.
You may have your favourite tofu brand and recipe. Mine is Tofoo and I like to shallow fry with some flavour. I’ve used the same pan as the pepper (washing up saver) and stirred through paprika as the tofu has cooked. I’ve cooked until crispy and firm.
You can choose your noodles for this dish. I’ve used vermicelli rice noodles and soaked in boiling water to prepare.
The most vital element of this meal is the ramen soup. I’ve used a little coconut oil and fried up chopped garlic, red chilli, minced ginger, paprika, turmeric powder and coriander leaf. Top up with coconut milk and allow to simmer for 10 minutes.
When all your ingredients are cooked fill the base of the bowl with noodles, layer on tofu and vegetables before topping with the ramen soup.
I love this dish and will be experimenting with different vegetables, tofu recipes and ramen ingredients this summer.
This minty tart is ideal for an Easter weekend meal in the garden (as it’s the only place we can get out to under lockdown this weekend) it is vegan and gluten free which is perfect for a sunny lunchtime.
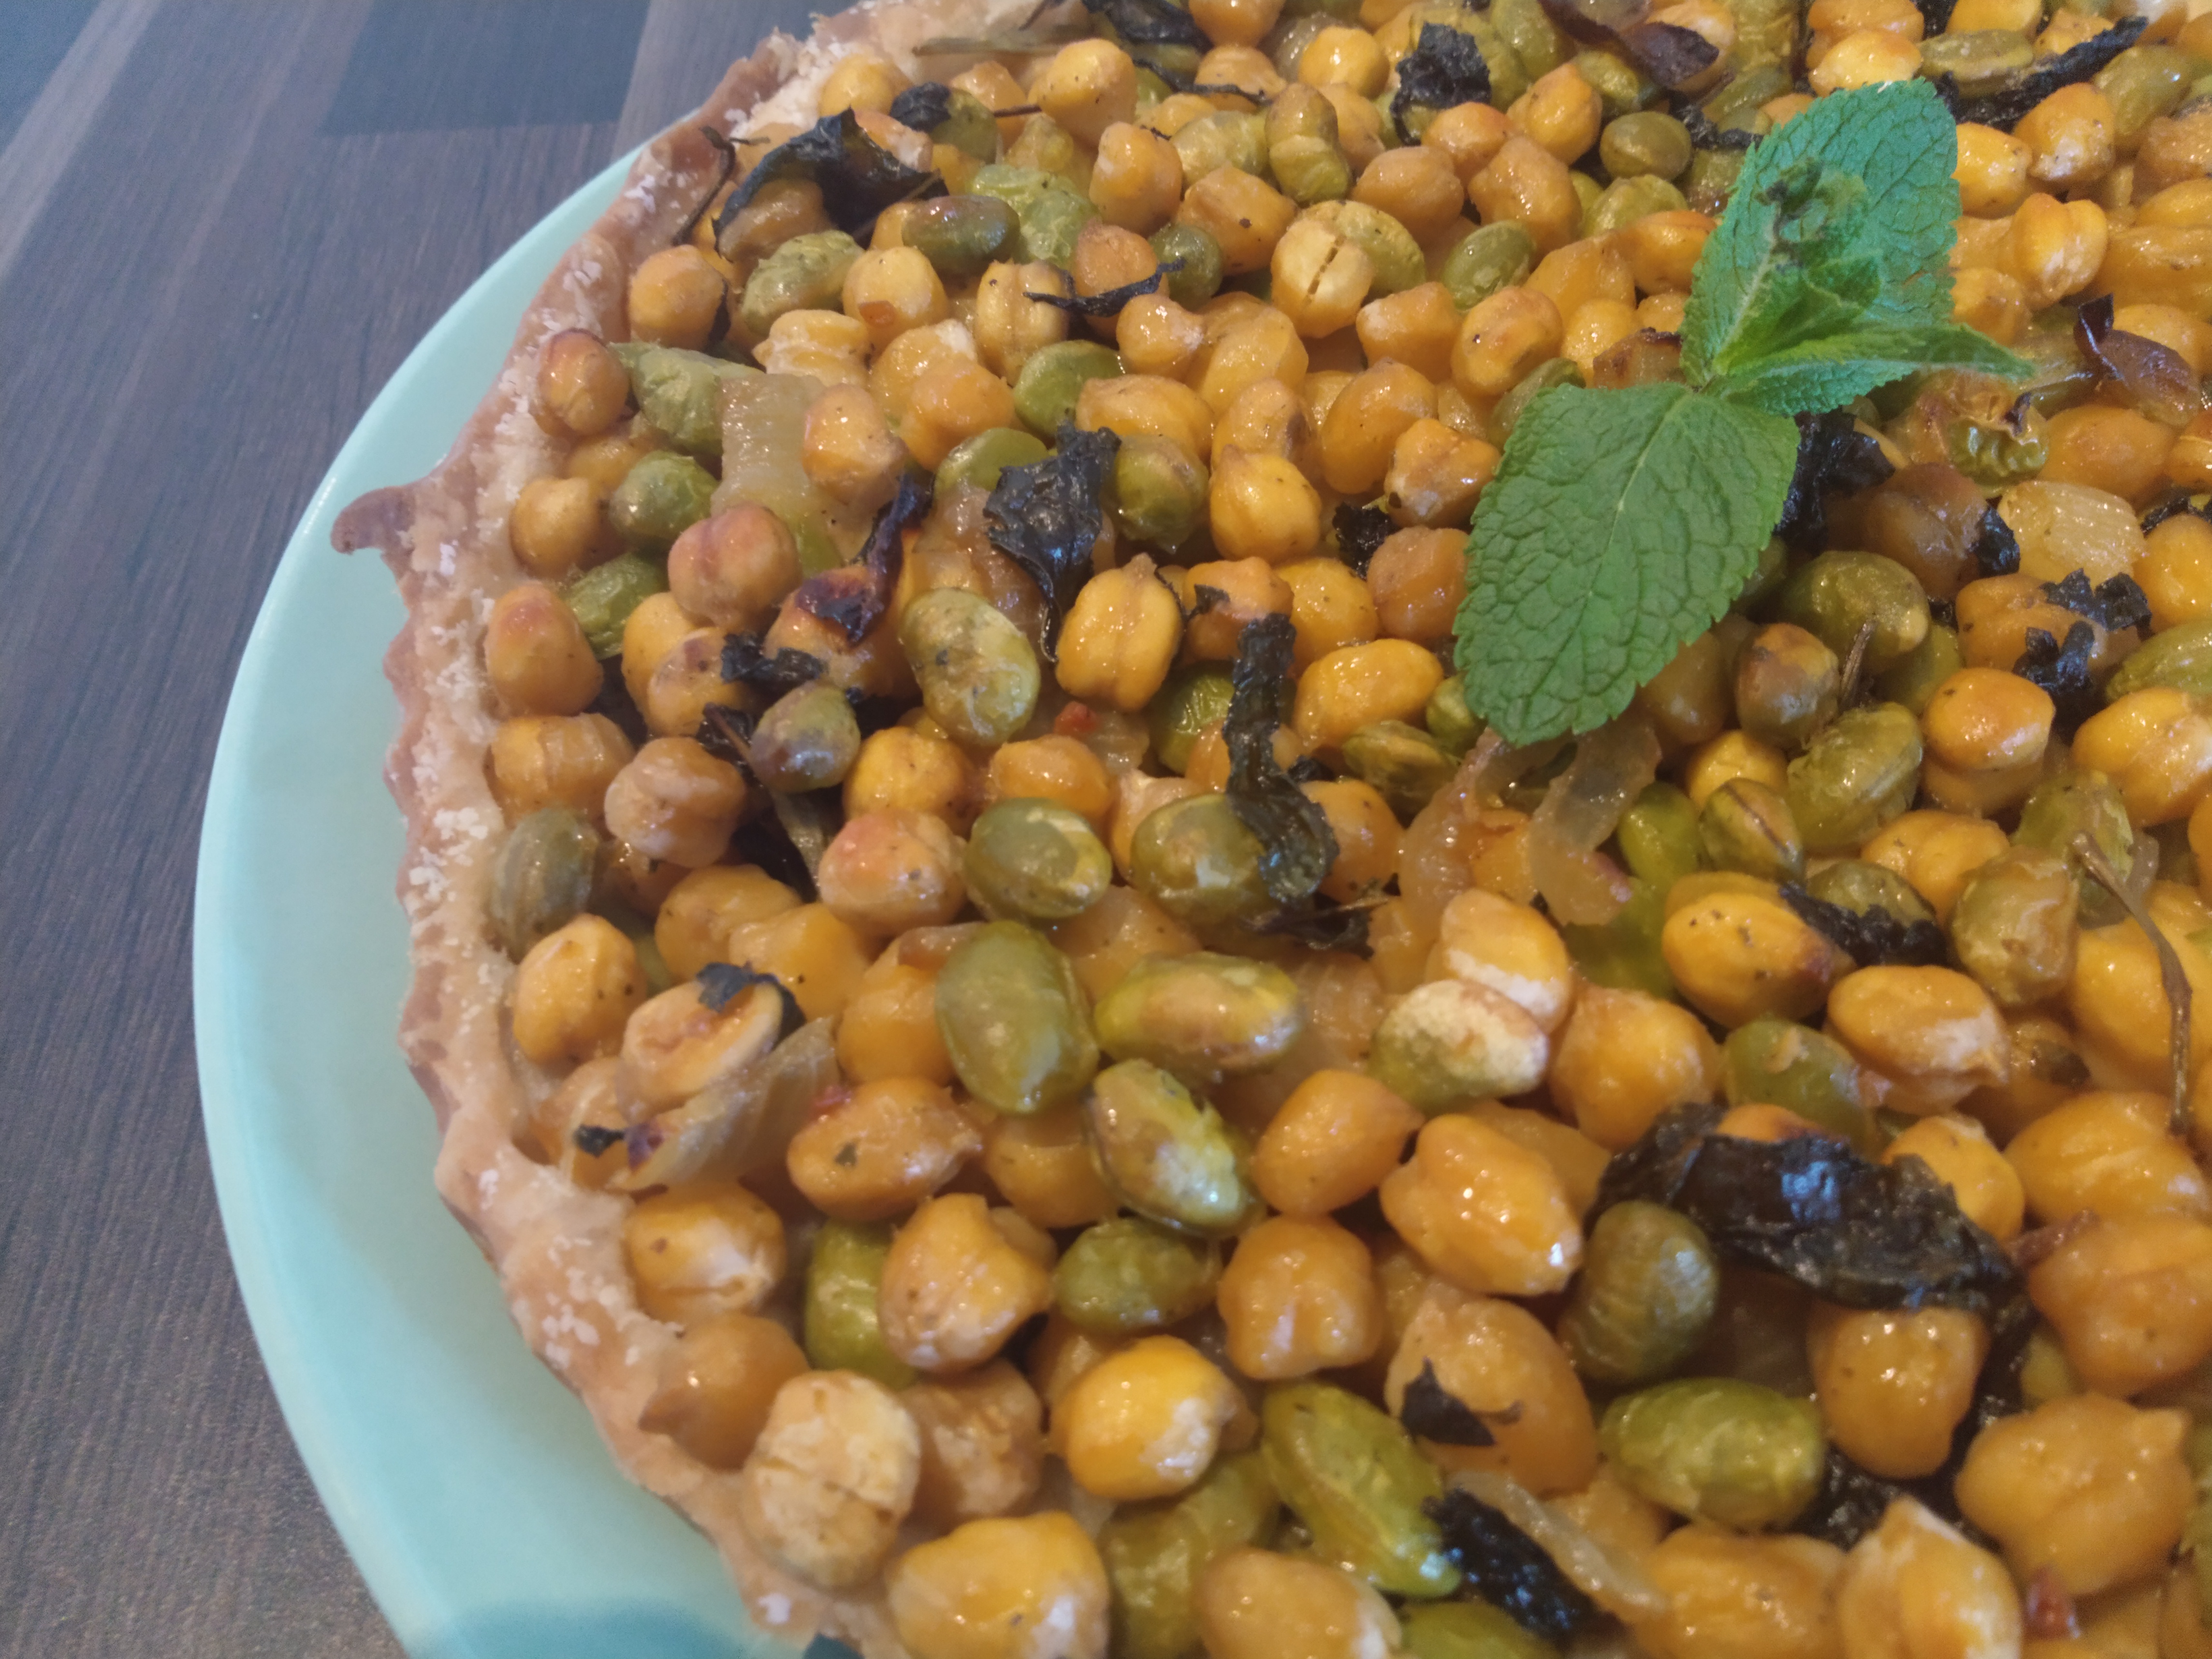
I’ve started much of my weekend cooking with chickpeas and have soaked dried chickpeas and cooked them until ready to eat.
Chop a white onion and add it to a warm frying pan with oil and chopped garlic. Allow the onion to cook a little so the onion becomes translucent before adding chickpeas and edamame beans.
At this point add stock. I’m using stock ubes from Kallo as they have great vegan and gluten-free stock cubes. I only use a small amount of water so the mix is quite sticky.
Turn the heat down and allow the chickpeas and beans to simmer for 20 minutes adding some chopped mint before the end so it wilts down and continue to cook until there is no liquid left in the pie filling.
One of the greatest coeliac cheats I have found is the the JusRol Gluten Free Puff Pastry as it is also vegan and dairy free. I’m using this for the base of the tart. Roll it out to the size of the tart tin and prick the base with a fork. Add the pie filling to the tart and bake for approximately 45 minutes to ensure an even bake.
I hope you love this fresh spring recipe which is packed with protein from the chickpeas and beans.
I’ve soaked lots of chickpeas recently so it’s fair to anticipate chickpea recipes coming up. This dish is a super easy and tasty.
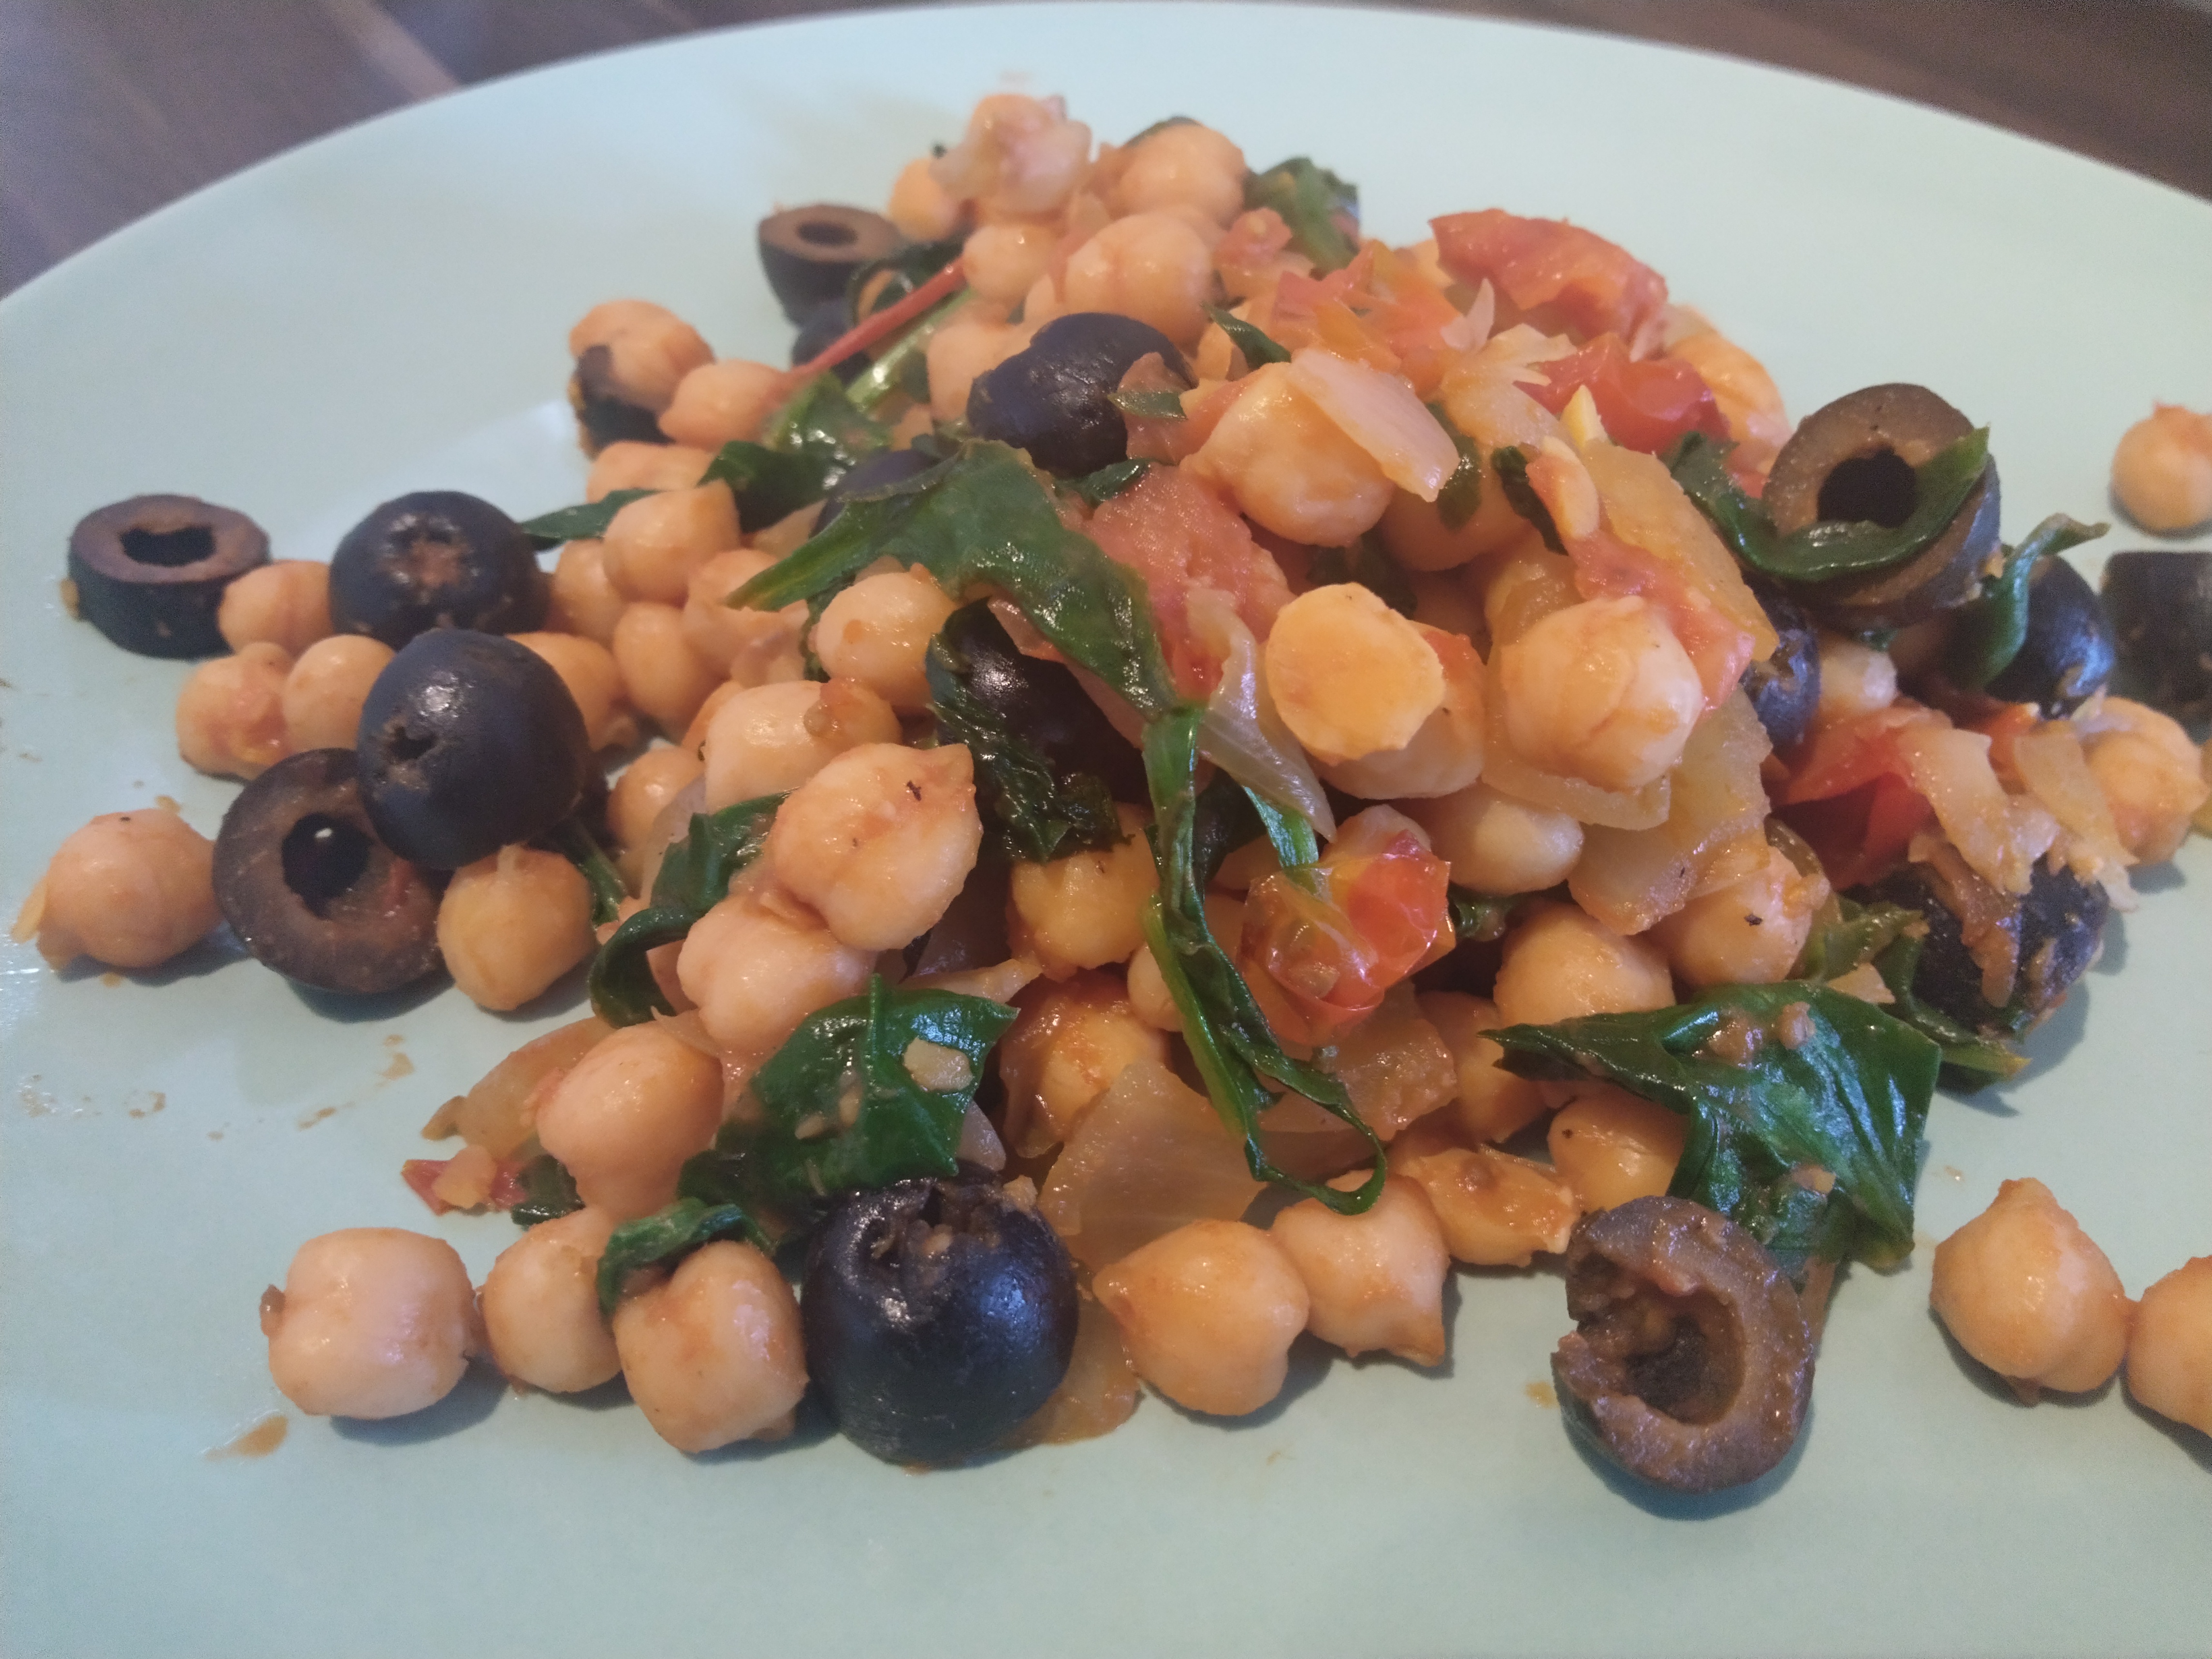
I’m using dried chickpeas so I’ve started by preparing them in advance. I’ve soaked them in water for 8 hours, drained the water off and rinsed and then boiled them in water for 10 minutes to soften fully.
Heat a little oil in a frying pan, add some chopped or minced garlic and then add the cooked chickpeas. Chop black olives, cherry tomatoes and spinach and add to the pan in that order, seasoning with a little salt and pepper. Continue to cook for about 10 minutes stirring frequently and ensuring the juice from the tomatoes speedy through.
This is a really simple and exciting meal and once you have the chickpeas ready it’s great to make as many meals as you can. This is a wonderful coeliac and vegan friendly recipe.
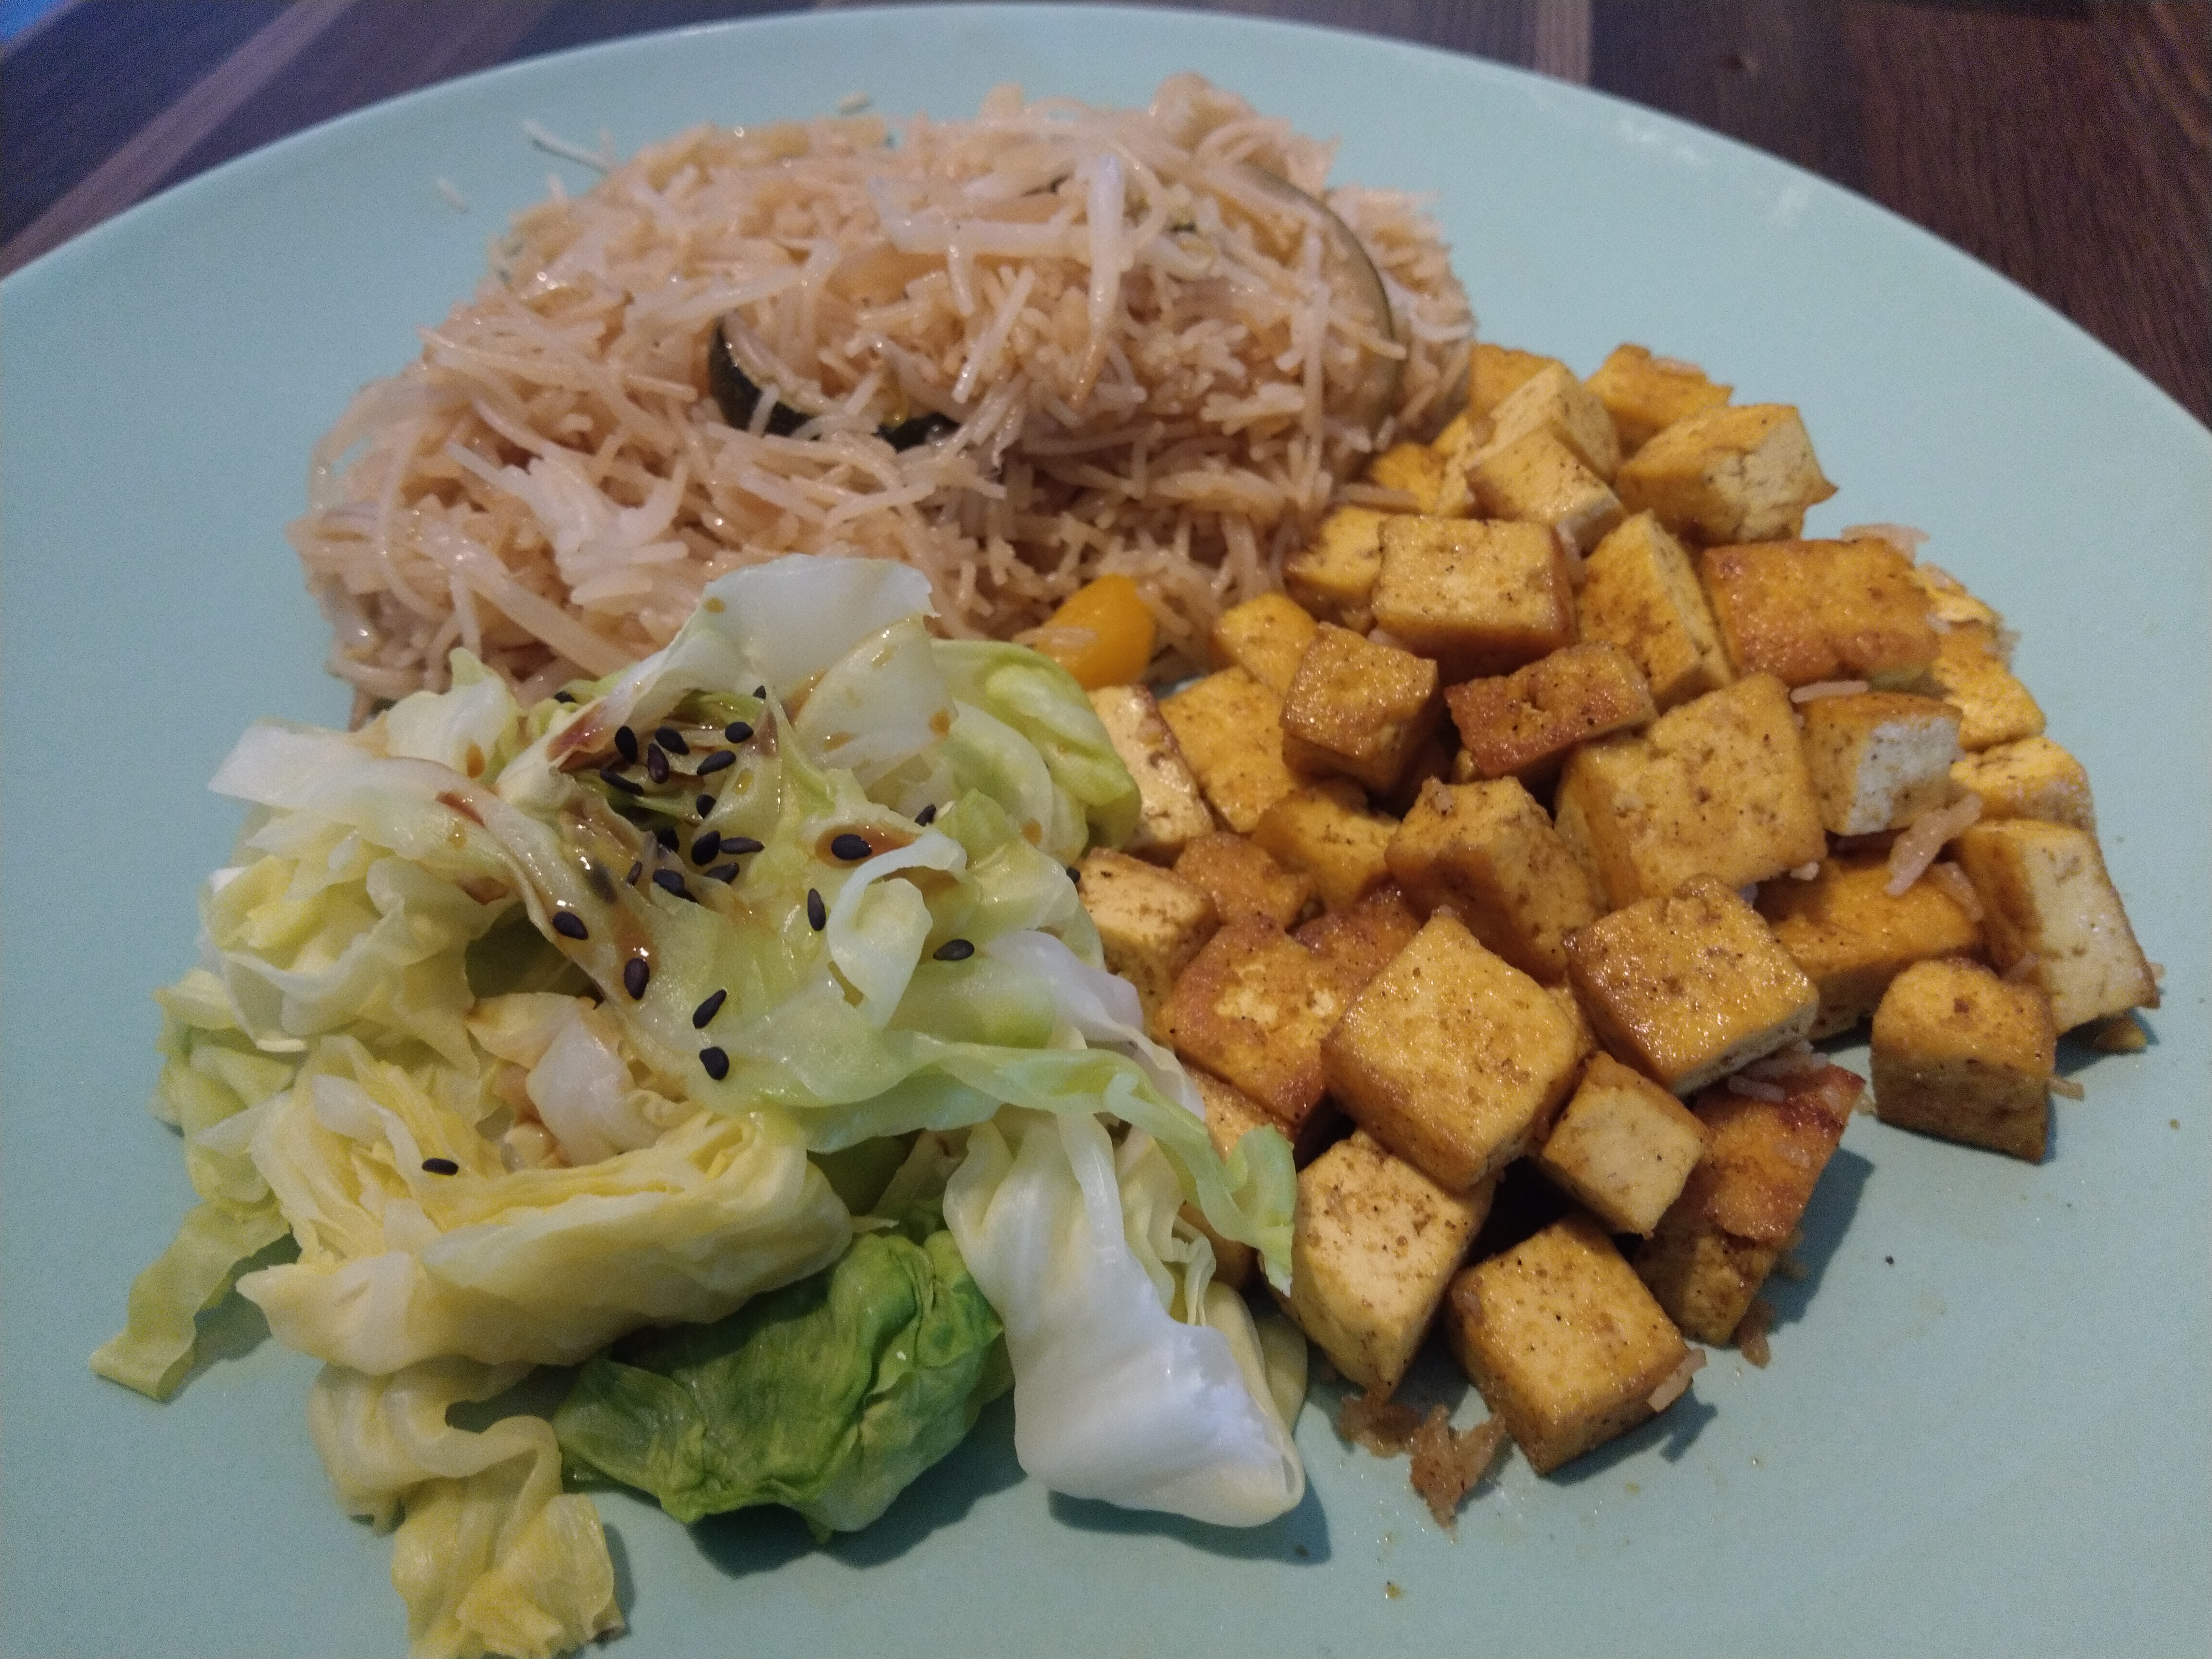
I love tofu. Cooking it with coconut oil and curry powder gives it a great flavour and makes it a centre point of this meal.

Make sure you use a firm tofu, I’m using Tofoo naked as it’s an extra firm and versatile tofu. Chop into small squares and add to a pan with coconut oil, a spoonful of curry powder and a pinch of salt. Fry for approximately 25 minutes turning and stirring regularly.
Whilst doing this prepare the other foods to go alongside. I’m using pre-cooked sushi rice (as it can take a little while to cook and I like it cold too) and sprinkling the rice with sesame oil and toasted sesame seeds.
I’m also using suitable salad vegetables and preparing chopped spinach, chopped lettuce, avocado, cucumber and cashew nuts.

I hope you enjoy the tofu and other vegetables as much as I have.
Simple food is often the most enjoyable. As the evenings are getting lighter I’m having more salads. The lighter evenings and lighter meals are helping me to keep my mood bright during this tough time of lockdown.

This salad is delicious as well as simple. Featuring sliced and boiled salad potatoes, chopped spinach, chopped lettuce, sun-dried tomatoes, olives and artichoke antipasti.
I’ve topped it off with a lemon dressing which is super with these salad veggies.
