This Autumn I’ve been enjoying some homely baking and wanted to share some of the tasty vegan and gluten-free bakes I’ve been enjoying.

This Autumn I’ve been enjoying some homely baking and wanted to share some of the tasty vegan and gluten-free bakes I’ve been enjoying.
During an extended period at home I’ve been really getting stuck into baking. I’ve been following other recipes so will just share photos of my lockdown bakes, all gluten free and vegan.

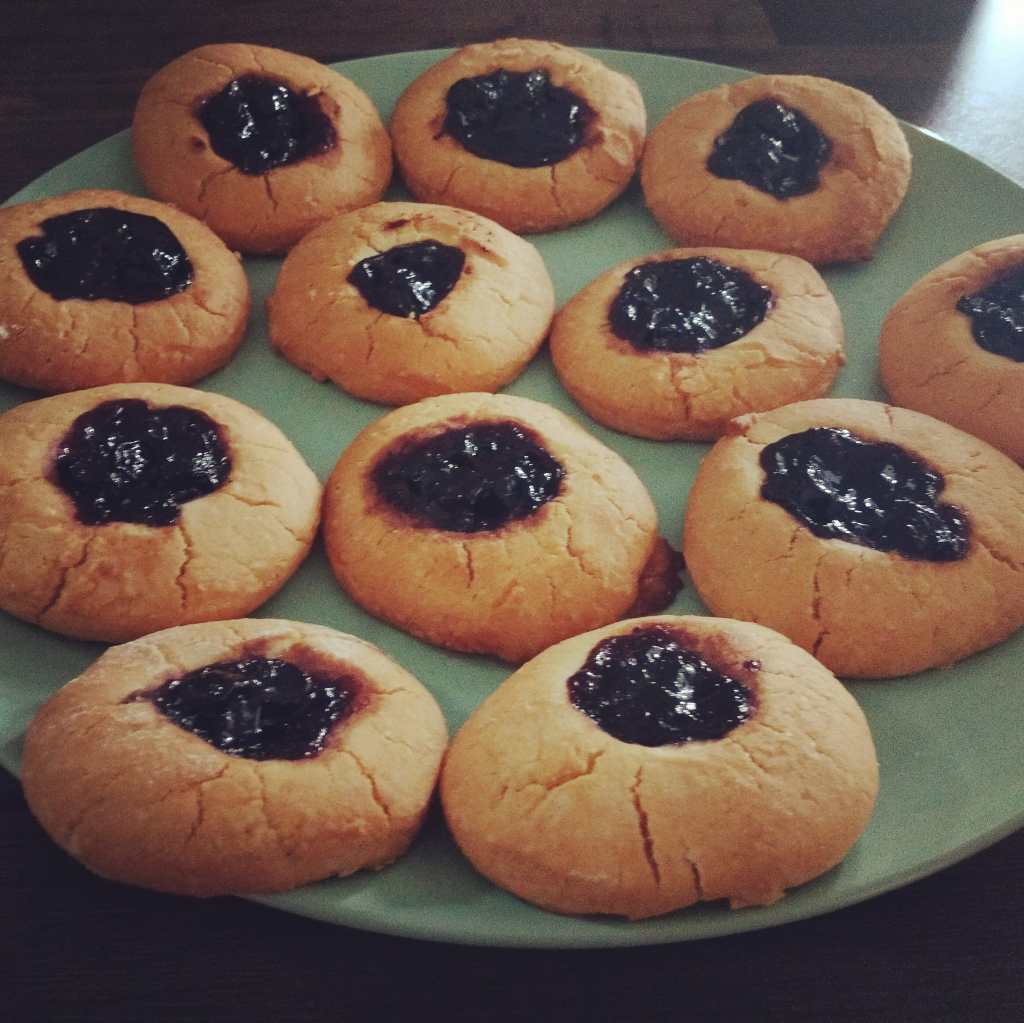


An old classic, rice pudding is great for coeliacs as rice is naturally gluten free. I’ve updated this recipe using almond milk and it pairs beautifully with my homemade cherry jam.

Start by adding pudding rice to a large pan and covering with almond milk and an additional 200ml water. I’ve used unsweetened almond milk but added carob syrup for a natural sweetness with a gentler sugarey feel.
Stir through thoroughly and then turn the hob on but keep the heat low. I used setting 3 / 9. The rice pudding takes nearly an hour to cook and will need occasional stirring and monitoring to see if additional liquid is required.
When the rice is fully cooked it will be soft and fluffy without much liquid. Taste to check the rice is fully cooked.
I’ve stirred through a little Alpro single cream and then topped with my homemade cherry jam as I always find almond and cherries a strong mix.
This is my first attempt at fudge and I’m really pleased with the results (but will be buying a sugar thermometer for next time!)

I’ve used a recipe I found online but adapted to suit my tastes (and the ingredients in my pantry).
Start with a large saucepan with a thick base and add the ingredients. I’ve used 450g Demerara sugar, 250ml Alpro cream, 150g Alpro coconut milk, 50g Pure Olive spread and 1 tbsp of golden syrup. (For the rum and raisin flavour – pictured above – I also added 100ml Bacardi at this point.
Bring to heat on a medium high and stir whilst cooking until the sugar has all dissolved and you have a consistent syrup which will be light brown and will smell amazing! (Reminded me of a very sugarey Bailey’s)
When all the sugar has dissolved and you have a consistent syrup bring the pan to the boil. It needs to reach a really high temperature of 112° – 116° and needs to be stirred regularly to prevent the sugars in syrup from burning to the base of the pan. The syrup will foam but keep boiling and keep stirring until it reaches this temperature.
As I didn’t have a thermometer when I made this fudge I used an alternative to measuring the temperature by “soft ball” ing the fudge. To do this have a pot of cool water close by and as the mixture boils take a small spoonful out of the pan and drop into into the water. If the syrup forms a soft ball you can mould and lift then it has reached the right temperature and is ready to remove from the heat. If it is still a liquid when poured into the cold water then it will need to boil for longer to reach temperature. An important learning curve here is to make sure the syrup has long enough to cool in the water before you try to mould it! Hot fudge syrup burns – safety first!
Once you have ensured the syrup has reached that temperature remove it from the heat entirely. At this point you can add extra flavouring – I’ve used dessicated coconut in the coconut fudge and added raisins for the rum and raisin. Then stir rigourously as the mixture cools down. You will notice the mixture become thicker and less glossy as you stir it. Keep stirring until the mixture of fairly cool and no longer too hot to touch and is pretty thick and creamy then pour into a line baking tray or dish to set.
I’ve learnt from the two batches I made that it is best to leave the fudge to set fully at room temperature. The coconut I made I popped into the fridge to cool and it created a split in the top and bottom with the bottom of the fudge being more like a toffee.
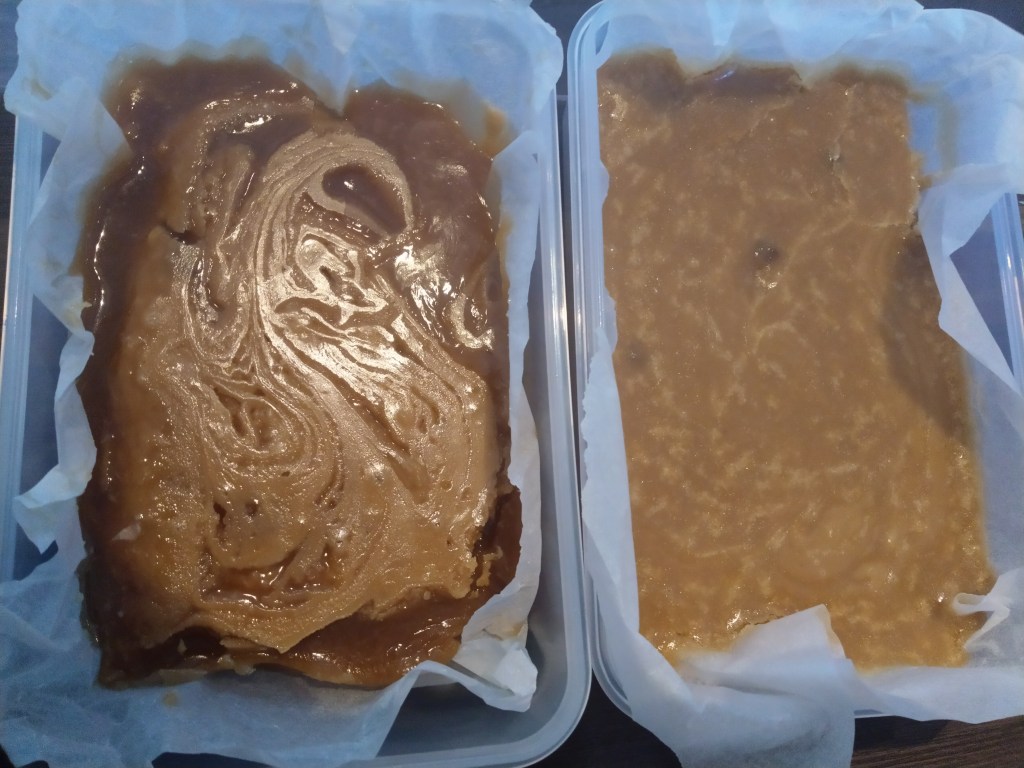
When fully set remove from the dish, peel off the baking paper and chop into bite sized pieces ready for a tasty treat!
I’m a little late sharing this post but due to lockdown I’m reviewing some of my previous baking and realised I hadn’t shared these tasty little treats.

These are so simple to make and I’ve made chocolate and marshmallow Easter nest buns.
For the chocolate Easter nests start by melting dark cooking chocolate and Golden syrup in a large bowl in the microwave or above a pan of boiling water. I’ve used Green and Black’s dark cooking chocolate as not only is it vegan but it is also Fairtrade. Once fully melted stir through to mix and then add cereal. I’m using gluten free own brand rice crispies. Spoon into paper cake cases and pop into the fridge to set. Once fully set I’ve decorated with Freedom Confectionery mini marshmallows as they are gluten free and vegan and added rainbow chicks and hand coloured paper eggs (as I couldn’t get vegan mini eggs).
The marshmallow nests are just as easy to make. This time mix golden syrup and marshmallows in a large bowl and melt either in the microwave or above a pan of boiling water again. Stir through thoroughly before mixing in the rice crispies or cornflakes and setting again. I’ve topped these with Mark’s and Spencer Easter sweets – Percy Pig spin off rabbits which are also vegan and gluten free. I’m sure to make these at other times of the year too and hope you can enjoy them as well.
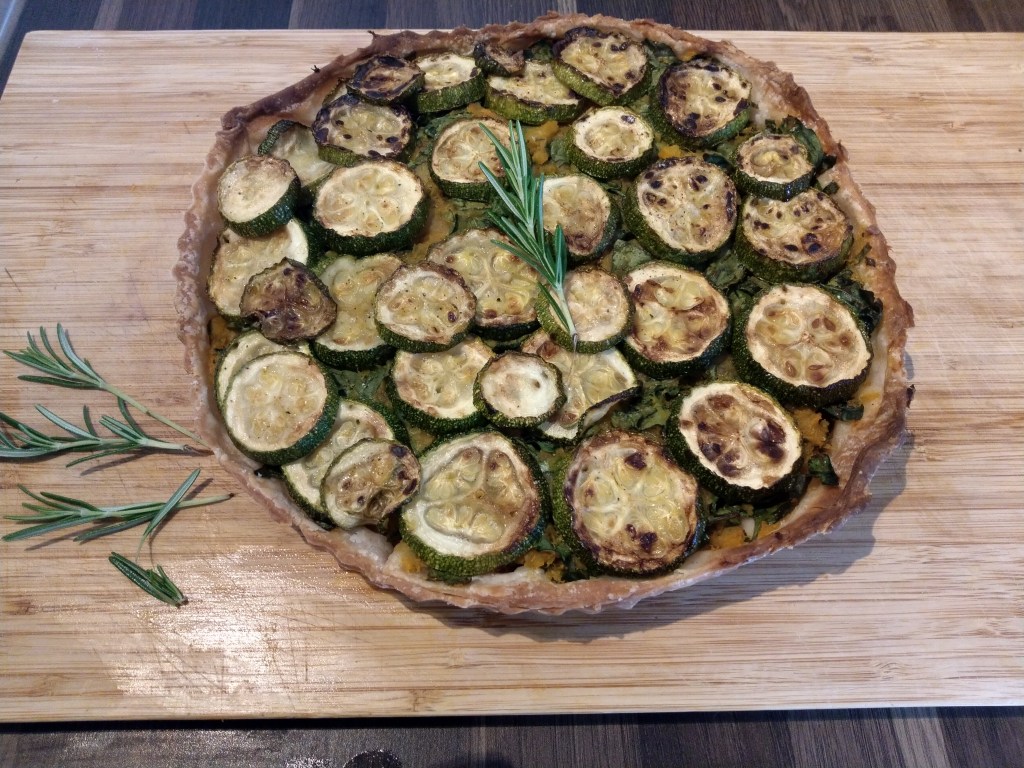
This minty tart is ideal for an Easter weekend meal in the garden (as it’s the only place we can get out to under lockdown this weekend) it is vegan and gluten free which is perfect for a sunny lunchtime.
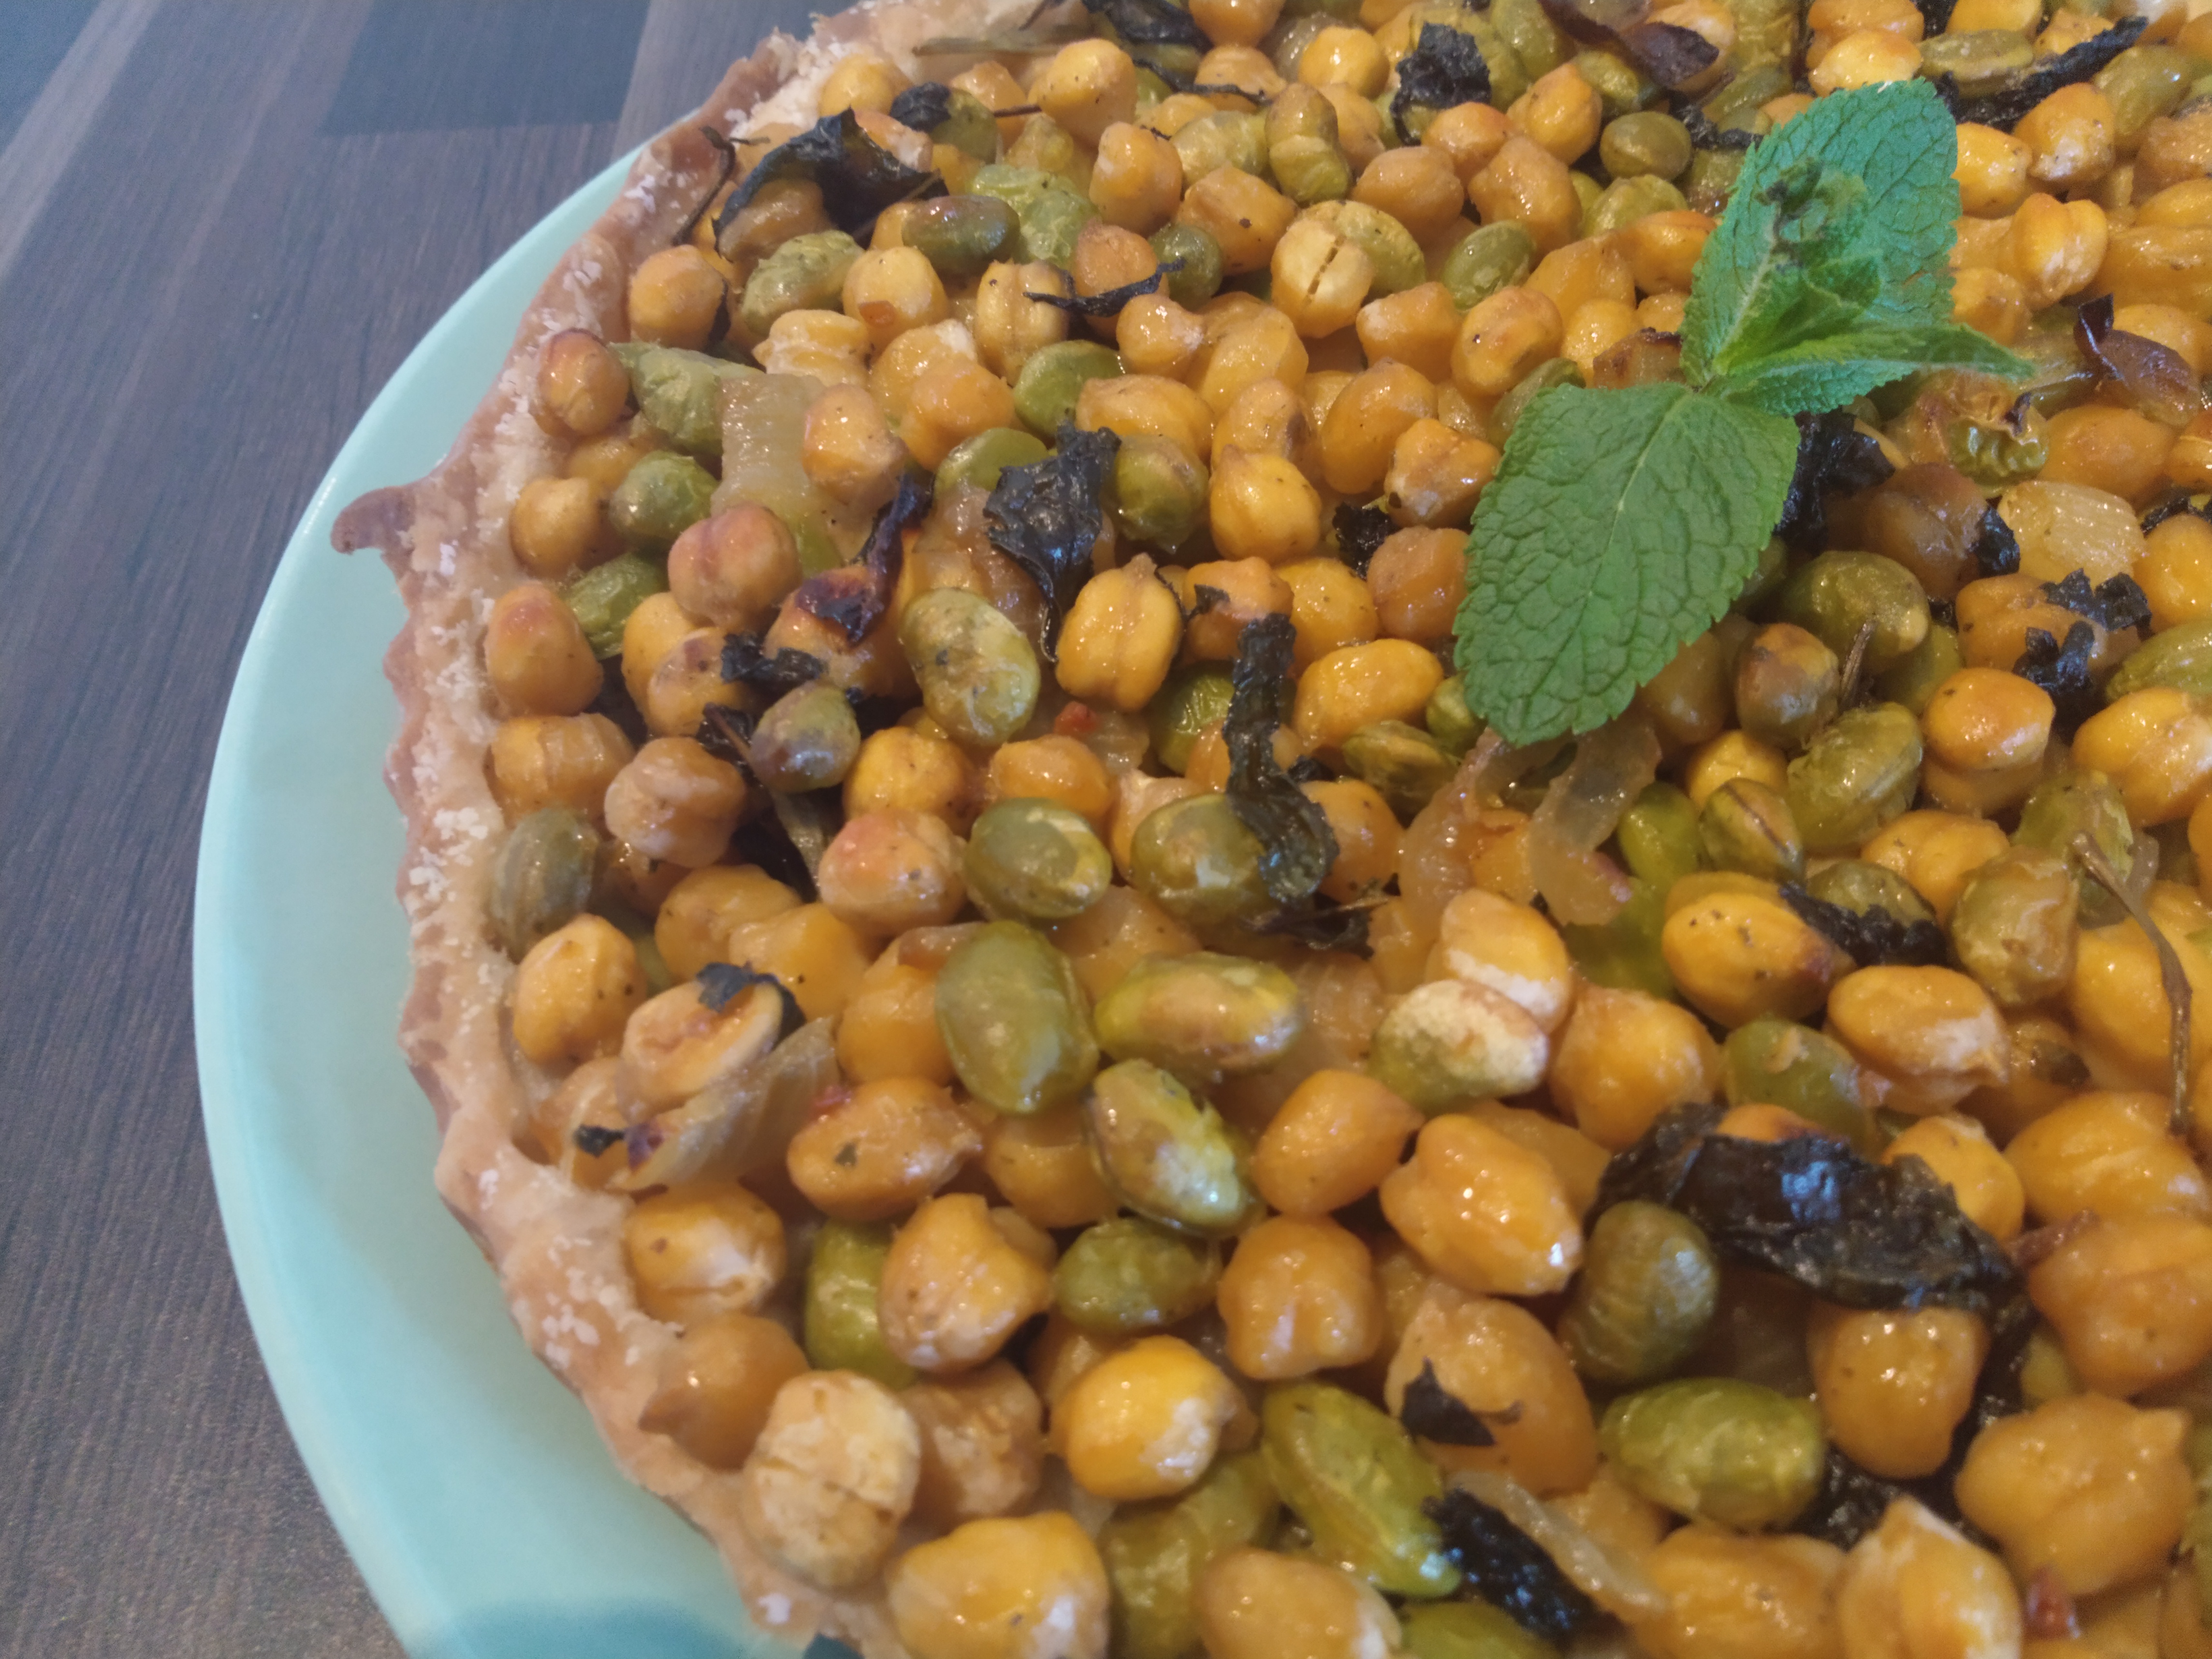
I’ve started much of my weekend cooking with chickpeas and have soaked dried chickpeas and cooked them until ready to eat.
Chop a white onion and add it to a warm frying pan with oil and chopped garlic. Allow the onion to cook a little so the onion becomes translucent before adding chickpeas and edamame beans.
At this point add stock. I’m using stock ubes from Kallo as they have great vegan and gluten-free stock cubes. I only use a small amount of water so the mix is quite sticky.
Turn the heat down and allow the chickpeas and beans to simmer for 20 minutes adding some chopped mint before the end so it wilts down and continue to cook until there is no liquid left in the pie filling.
One of the greatest coeliac cheats I have found is the the JusRol Gluten Free Puff Pastry as it is also vegan and dairy free. I’m using this for the base of the tart. Roll it out to the size of the tart tin and prick the base with a fork. Add the pie filling to the tart and bake for approximately 45 minutes to ensure an even bake.
I hope you love this fresh spring recipe which is packed with protein from the chickpeas and beans.
These are amazing. I’m going to admit straight up here that these are a packet mix and not from scratch. But what a brilliant, tasty and easy packet mix it is and easy to add flavours to.

Made by Sweetpea Bakery this gluten free pancake mix has vegan instructions for cooking. I’ve use Alpro Coconut Milk and added to the mix with egg replacement and dried cherries. This gives the pancakes a fruity, coconutty taste. Whisk all the ingredients together well before adding to a pre heated pan with oil. Cook until bubbles appear on the top and then flip over for an even cook.

I like that even with the coconut and cherries the pancakes are not too sweet.
I’m going to be trying these pancakes again with different flavours and thoroughly recommend you do too!
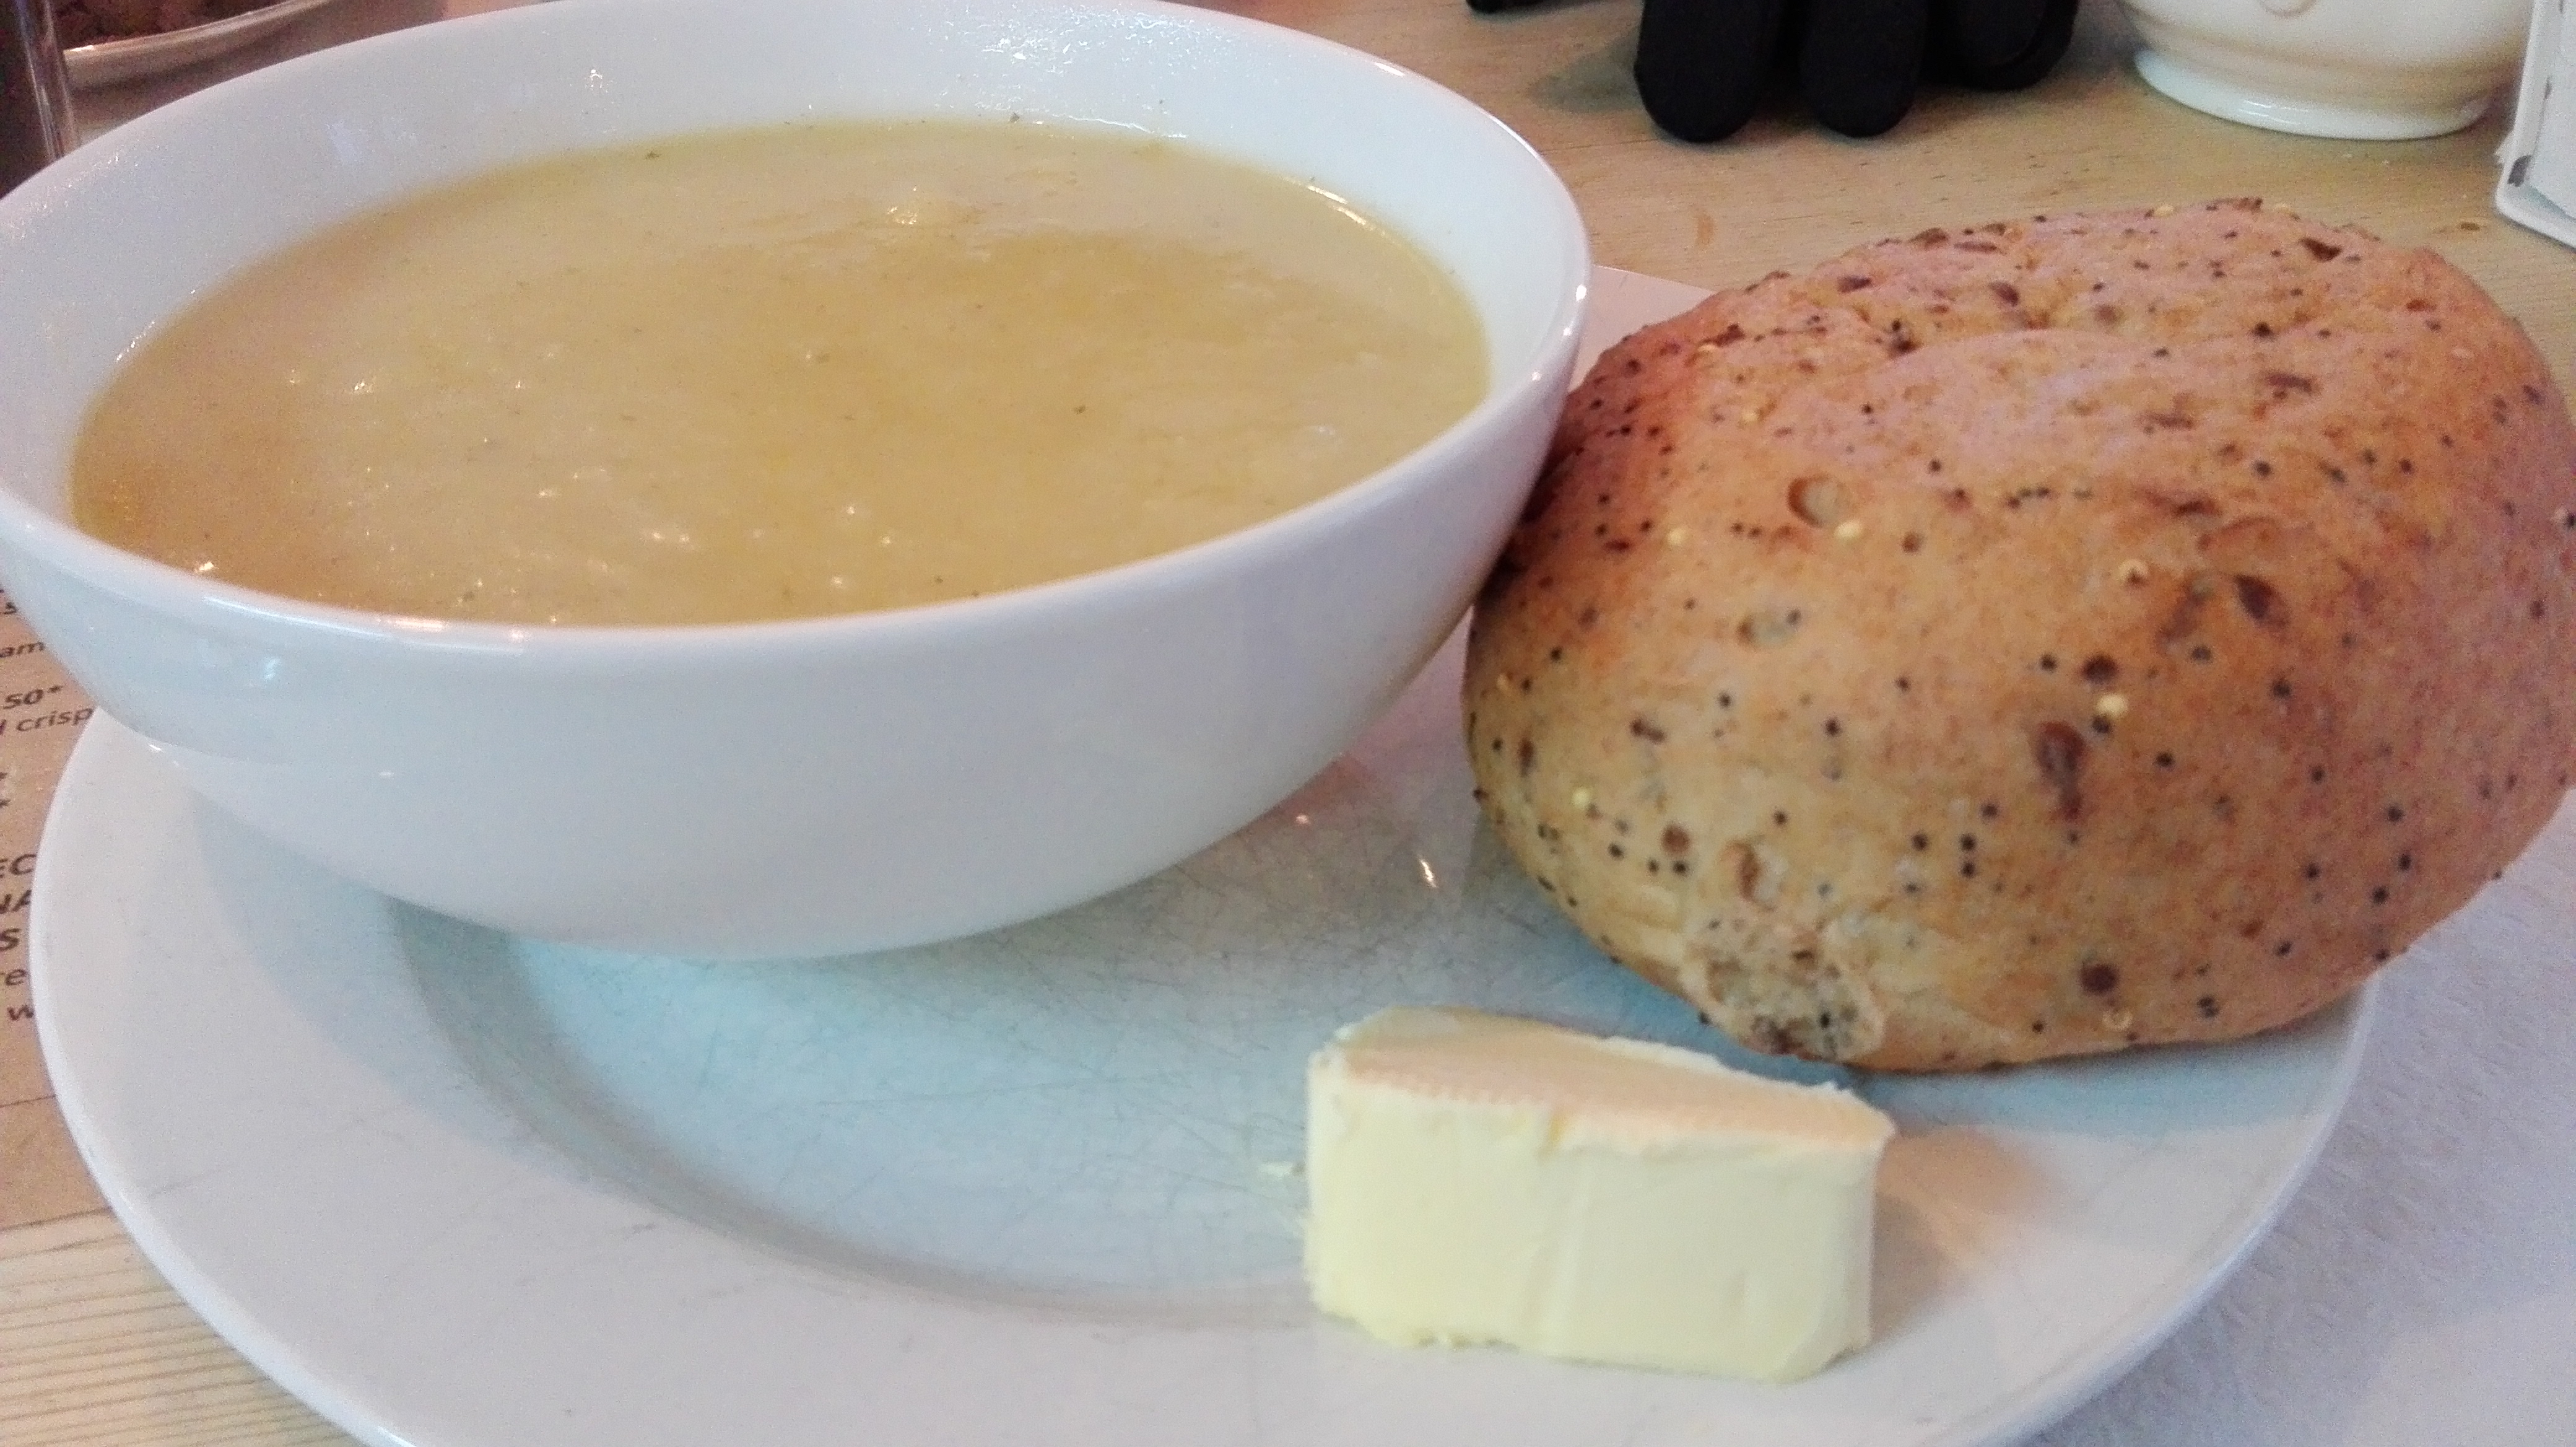
One of the things I miss since diagnosis as a lactose intolerant, coeliac is being able to visit independent cafes and restaurants but it’s hard because chains can be so much more convenient for allergies.
I’m definitely getting in the spirit for the first episode of Great British Bake Off as the new series starts tonight!

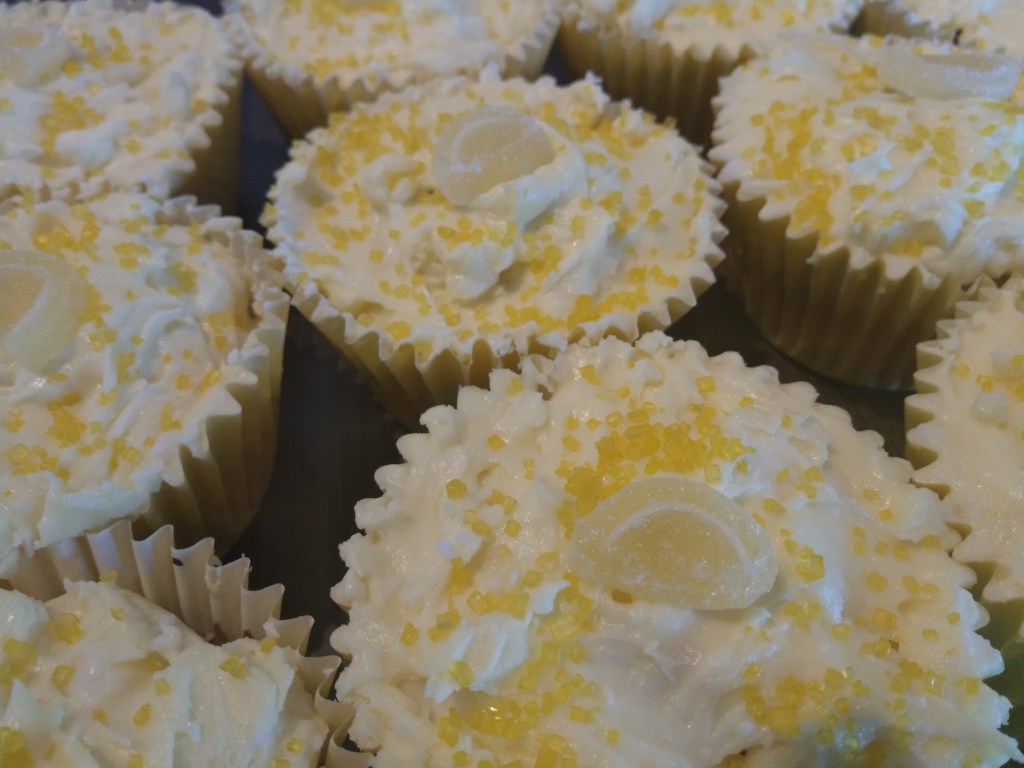
As I’m lactose intolerant and a coeliac I don’t tend to do much baking these days but I’ve made a special effort and whipped up some gluten freee, vegan cakes.
I’m lying. I’ve made no effort at all. These cakes came from a ready mix I actually found in Aldi. Betty Crocker Gluten Free Devil Food Cake Mix. The instructions say to mix with eggs, water and vegetable oil but I’ve replaced the egg with vegan alternative before mixing and it’s worked out perfectly.
Following the steps are simple. Mix all the ingredients together and pour into cupcake cases or a greased cake tin and bake for approximately 25 minutes.
Once cooked and cooled I have made my own chocolate icing with Vitalite, icing sugar and cocoa powder. I’ve also topped some with Moomin cake toppers made of rice paper, not all because I ran out though. This box made 24 cakes so I will be tucking in for a while. A perfect accompaniment for when Bake Off starts at 8pm!
